USTP Water Rocket (Launch Pad And Rocket)
This is not a recipe. This is a design explanation. If you’re here to blindly follow steps, stop reading. This document is for builders who understand, modify, and adapt.
Water Rocket
Every competition has different constraints, bottles, rules, wind, and judges. What matters is the logic behind the system — once you understand that, you can redesign it however you want. This rocket worked reliably because the physics cooperated, not because parts were glued in a specific order
A 60 cm water rocket launched at ~40 psi is built as a two-stage passive recovery system. When the water is exhausted, the rocket separates into two bodies. The egg-containing section naturally flips 180° due to mass distribution, making parachute deployment trivial. Both sections carry parachutes.
Deployment is assisted — not forced — by airflow using a small vent that exploits pressure differences (Bernoulli behavior). The egg survives because it is isolated, not restrained, and allowed to decelerate gently.
That’s the whole system. Everything else is implementation detail.
That’s how the egg survives.
Think in systems, not parts
The rocket is not one object. It is:
- A propulsion (water + pressure)
- A payload body (egg + stability mass)
- A separation interface (passive, no triggers)
- Two independent recovery systems
once you stop thinking of it as "a bottle with fins", the design becomes obvious (atleast for me! :D )
Passive mid-air separation (The most important feature)
As soon as the water is fully expelled, thrust drops to zero almost instantly. At that moment:
- Internal pressure collapses
- Acceleration stops
- Inertia differences dominate
This is where separation happnes.
Now, why does the separation works without mechanisms?
The payload (egg) section is heavier and forward-loaded. The propulsion section is lighter and rear-heavy. when the thrust ends:
- The connection between them no longer experiences compressive force
- Air drag immediately begins to pull them apart
- No springs, no explosives, no timers
The 180 degree flip is not an accident - it's designed
Once separated, the egg section flips nose-down almost immediately. Why?
- The egg is the dominant mass
- Drag acts behind the center of mass
- Gravity finishes the job
This flip is critical because:
- The parachute is now trailing naturally
- No ejection force is needed
- Tangling probability drops drastically
Bernoulli-assisted parachute deployment
Each section contains a parachute that is lightly retained, not locked.
A small vent hole exists in the parachute compartment. Its purpose is not pressure equalization — it is pressure exploitation.
When air moves rapidly around the rocket body:
- Pressure outside the hole drops
- Pressure inside the compartment remains higher
- The parachute fabric is gently pulled outward
This effect becomes strongest:
- at burnout (sudden airflow change)
- During the flip
- As descent begins
the hole does not "push" the parachute out. It removes resistance
What Actually needs tuning! (and what doesn't)
Tuning is subjective. for instance, have two parachutes for both separated bodies. just for aerodynamic hygiene (no body free-fall),
The other is egg protection - any protection works btw. just the key principle of, the egg must not touch hard structure as this turns a sharp impact into a long deceleration. that's why tissue, foam, sponge, cotton all work!
Some example that needs tuning base on my experience are:
- Mass distribution (as this controls the flip)
- Vent hole size (this controls deployment timing)
- Parachute packing friction
then, what does NOT need tuning:
- Exact cushion material, fancy mechanims, perfect symmetry.
How to modify this design intelligently
Want changes? Change the Effects, not parts.
Example are:
- Want earlier deployment? Increase airflow acccess or reduce retention
- Want faster flip? Move mass forward
- want slower descent? increase canopy area, not line length
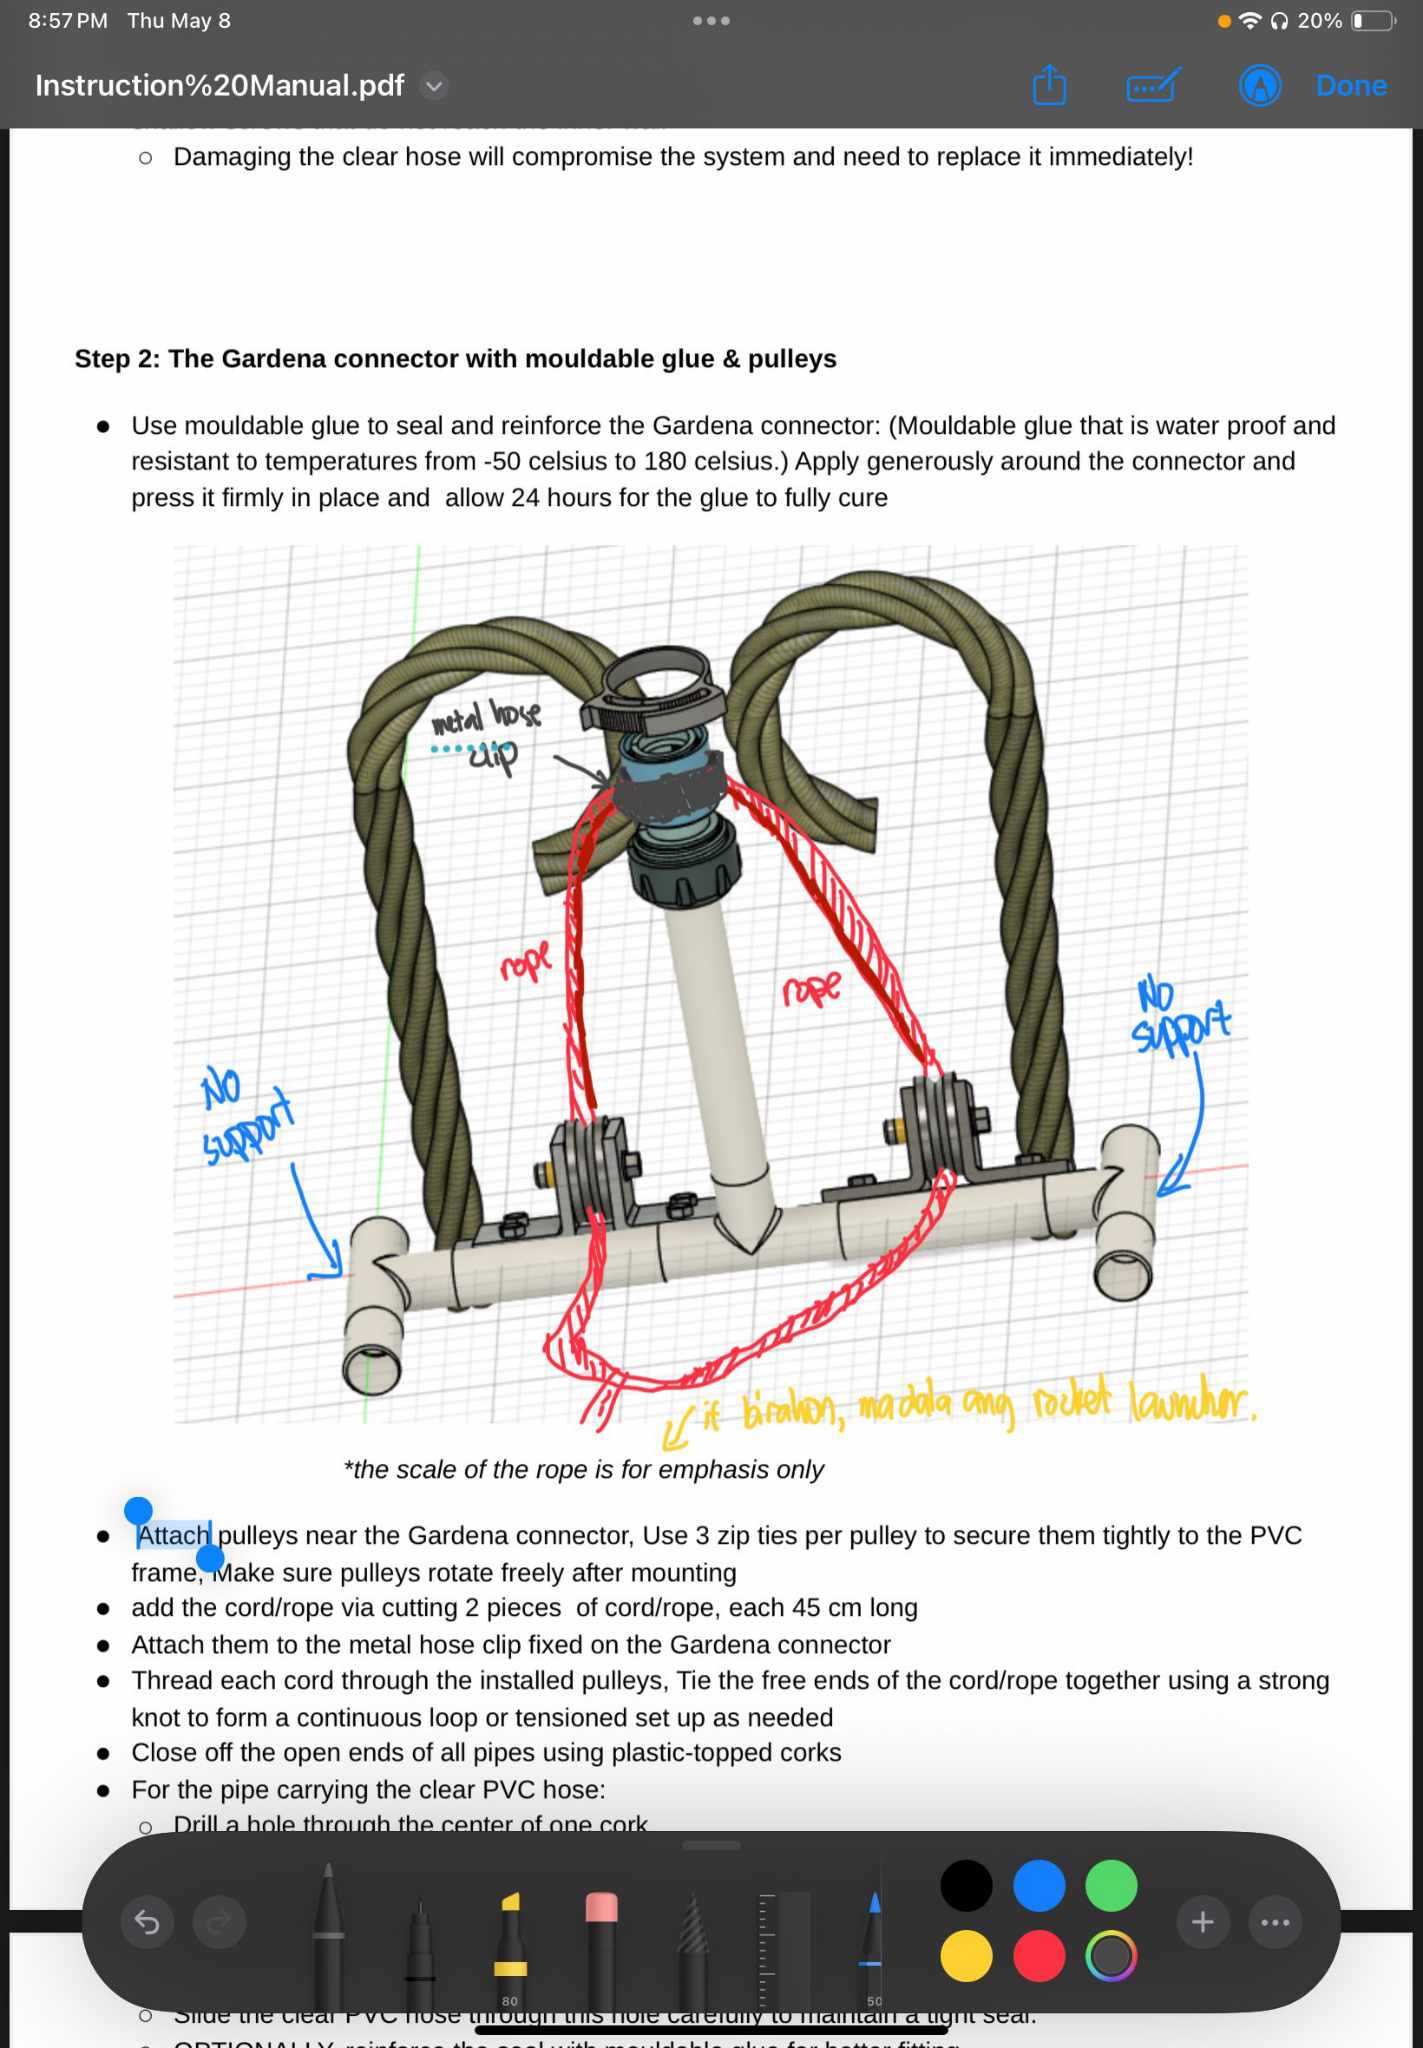
Water Rocket Launcher Pad
Of all the water-rocket launch pad designs on the internet — from backyard DIY rigs up to research papers. . . The PVC Water Rocket Launch Pad with Gardena Connector stands out as the cream of the crop!
Why?

Because it solves the core challenges of water rocket launching with elegant simplicity and reliable performance; a pressure-rated quick-connect that both seals and releases cleanly, a sturdy PVC framework that keeps rockets straight, and a built-in pressurization path that lets you pump up the rocket without fiddling under pressure. Instead of jury-rigged clamps or finicky cable-ties, this design uses parts engineered for pressure and fast release, resulting in a launch system that is safer, more consistent, easier to build, and easier to use than almost any other you’ll find online.
Why this design works?
At its core, a water rocket launcher must satisfy a few critical requirements:
- Hold the rocket securely while pressurizing
- seal the pressure so tha air/water doesn't leak
- Release the rocket reliably at a chosen moment
- Keep the rocket stable and vertical for a straight launch
- Be safe, portable, and relatively easy to build
Robust Pressure Connection: Gardena Quick-Connect
Instead of homemade clamps or the traditional Clark cable-tie release(Which often leaks!), this design uses a standard Gardena garden hose quick-connect (EVEN ANY OTHER GARDEN HOSE QUICK CONNECT THAT YOU CAN BUY LOCALLY WILL DO AS WELL!) fitting as the core of the pressurized connection.
why this matters?
- Pre-engineered sealing system: Gardena connectors are meant for holding pressurized water in garden systems. That means they are built to hold pressure and seal air/water reliably without DIY tricks
- Easy quick release: the collar on the connector naturally releases when pulled. . . no tricky clamp adjustments or fragile zip-tie tricks. This makes the launch action clean and dependable.
- Compatible with hose and pump installation: The design embeds a hose and inner pump hose + presta valve right inside the PVC structure to pump air into the rocket while its on the pad. . . so you can pressurize without moving the rocket off the launch tube.
PVC Framework Provides Structure and Stability
The PVC pieces, connectors, and corks form a tall rail/frame that keeps the rocket vertical. Now, why vertical matters?
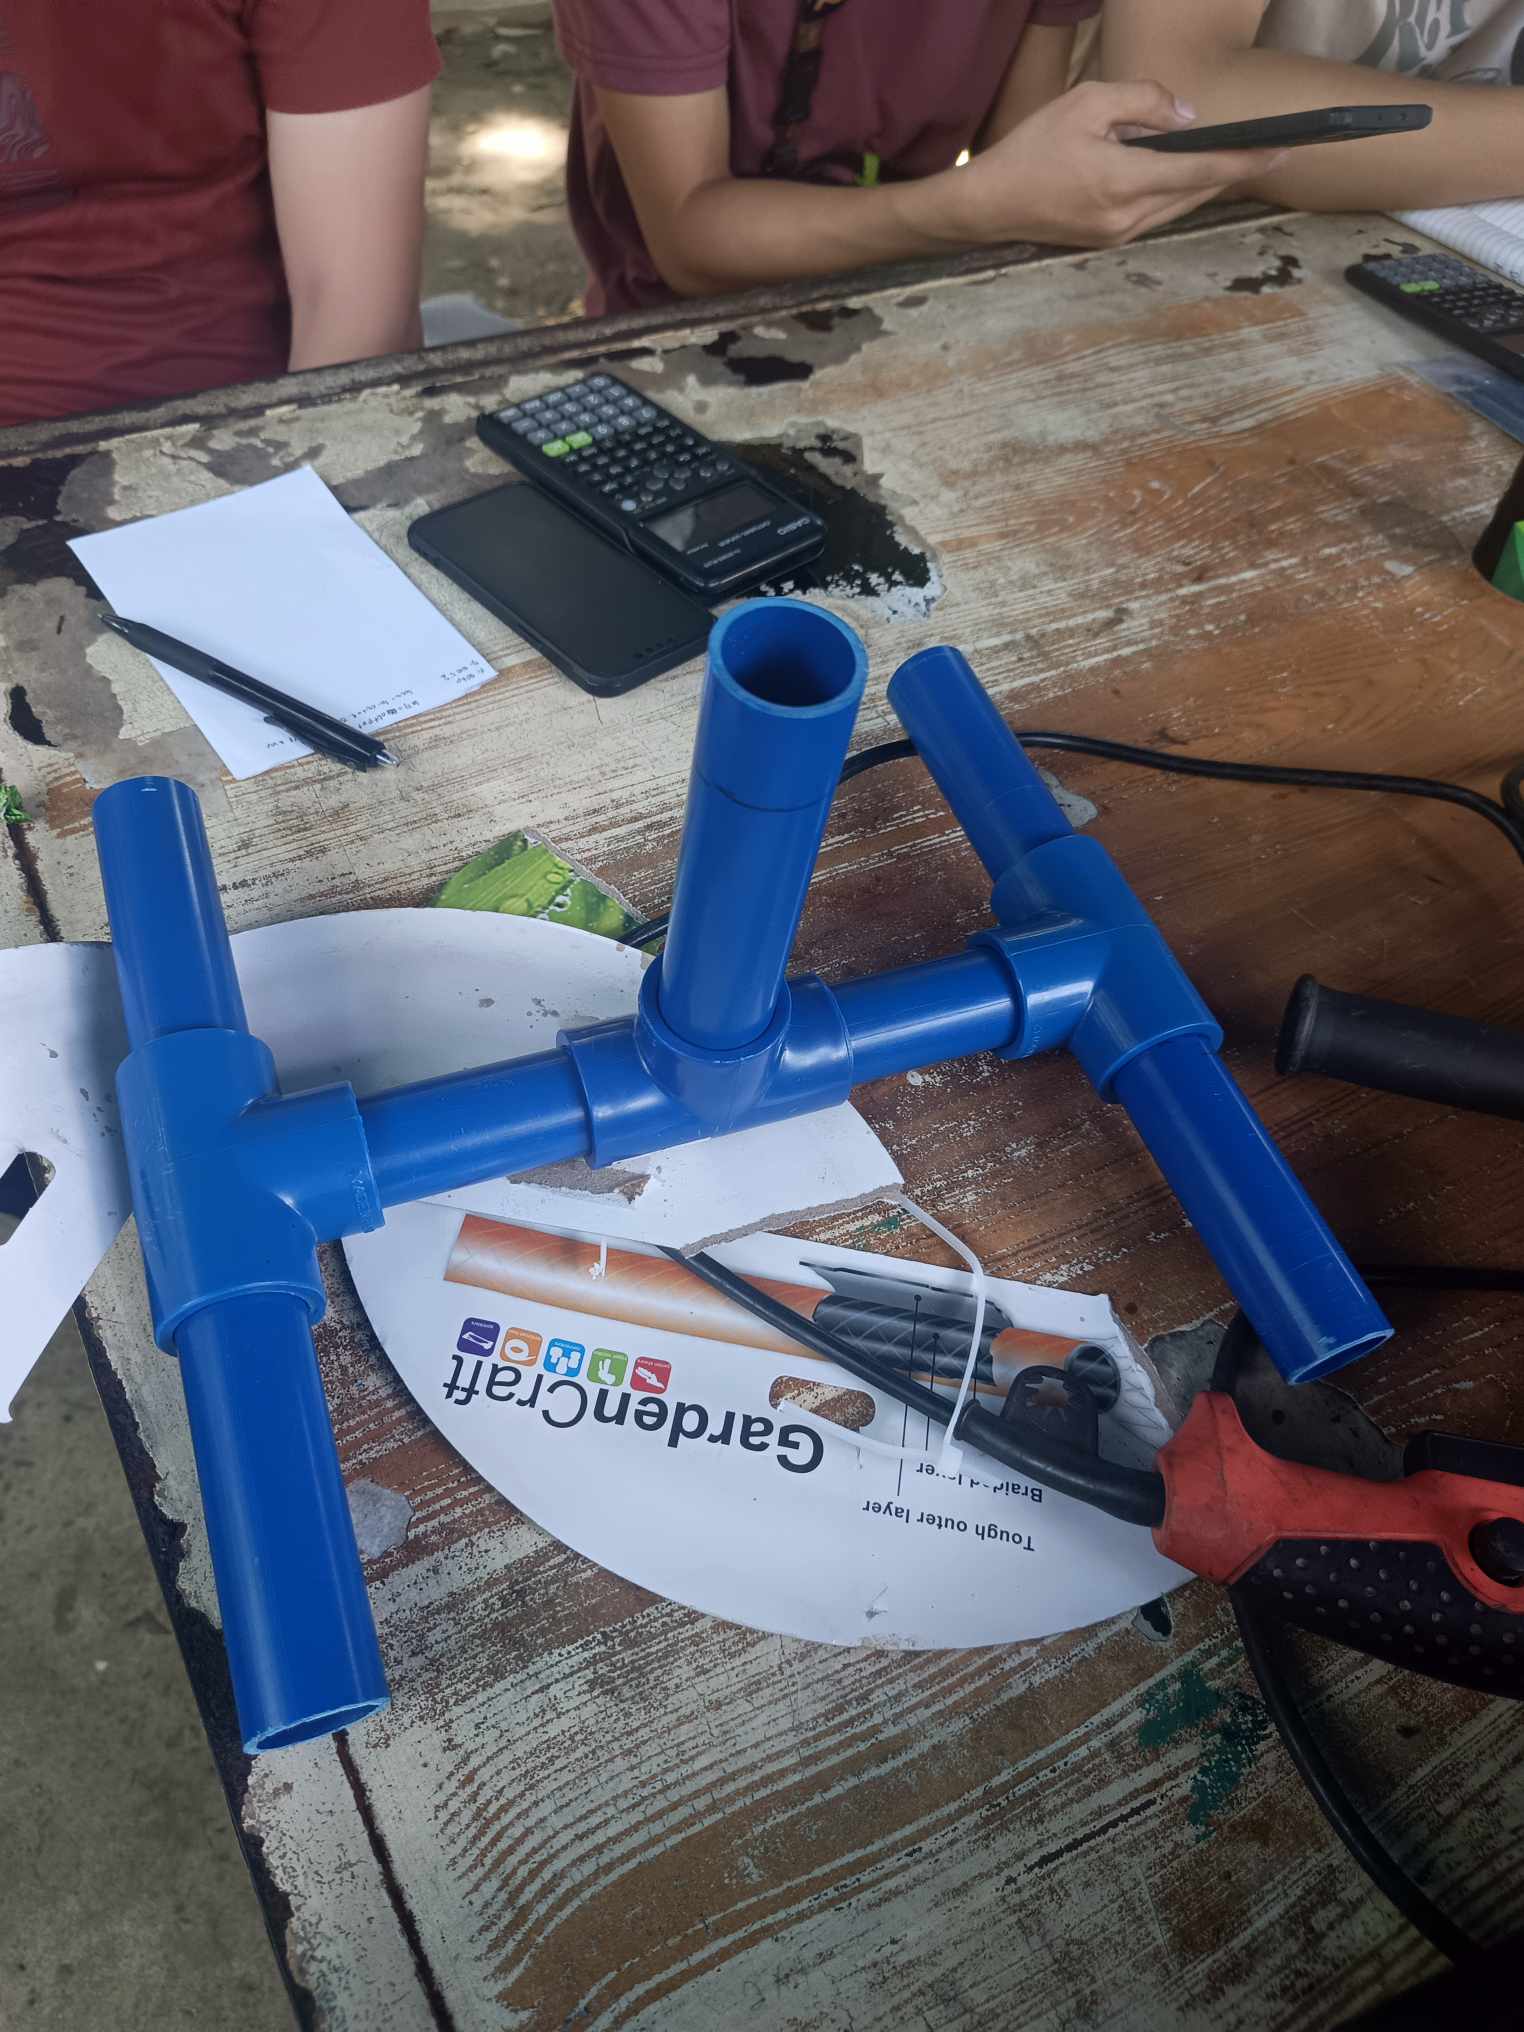
The design uses:
- PVC pipe as the tall, rigid rail (guides the rocket)
- O-rings and adjustable base spacers to center the rocket against the rail
- Eyelets/cord lines to help keep the rocket aligned but not overyly constrained (so release is clean)
PVC Framework Provides Structure and Stability
The PVC pieces, connectors, and corks form a tall rail/frame that keeps the rocket vertical. Why vertical matters?
when the rocket is launched, most of the initial thrust comes from downward-expelled water and air. If the rocket isnt straight, that force can veer off, lowering altitude and increasing unpredictability. A straight launch increases altitude and safety.
The design uses:
- PVC pipe as the tall, rigid rail (gauides the rocket)
- O-rings and adjustable base spacers to center the rocket against the rail
- Eyelets/cord lines to help keep the rocket aligned but not overly constrained (so release is clean)
Behind the scenes
Behind the scenes, this project moved through four tightly connected stages: CAD, Simulation, Physical construction, Teamwork.
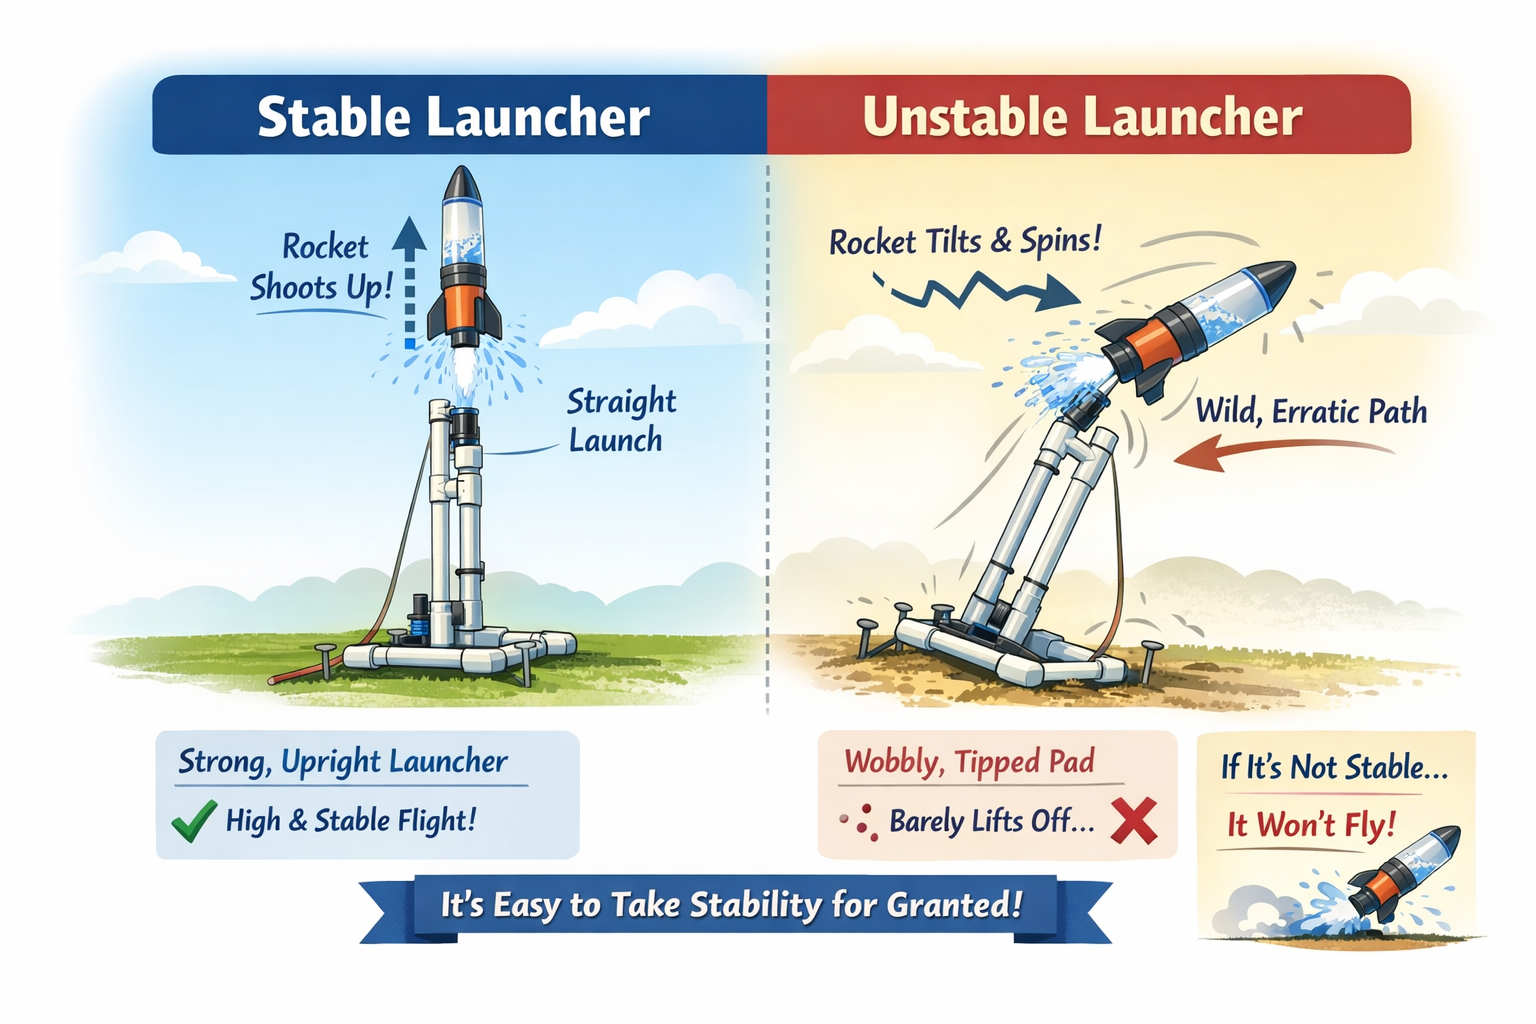
Interestingly, if the launcher itself isn’t stable, the rocket doesn’t really fly upward at all—it barely leaves the ground. It’s a small detail that’s easy to overlook, but it quietly reminds us how much the fundamentals matter. When things work, it’s tempting to take them for granted.
A simplified 2D simulation followed to analyze the core physics. Stripping the system down to its essentials to verify that the design logic matched theoretical expectations.
Finally, the real-world build validated all prior steps:
- The launcher assembled cleanly
- held the pressure reliably
- behaved almost identically to the simulations
- The maximum pressure that this design could handle is 70psi

@luisenrico9